FAQ
✻
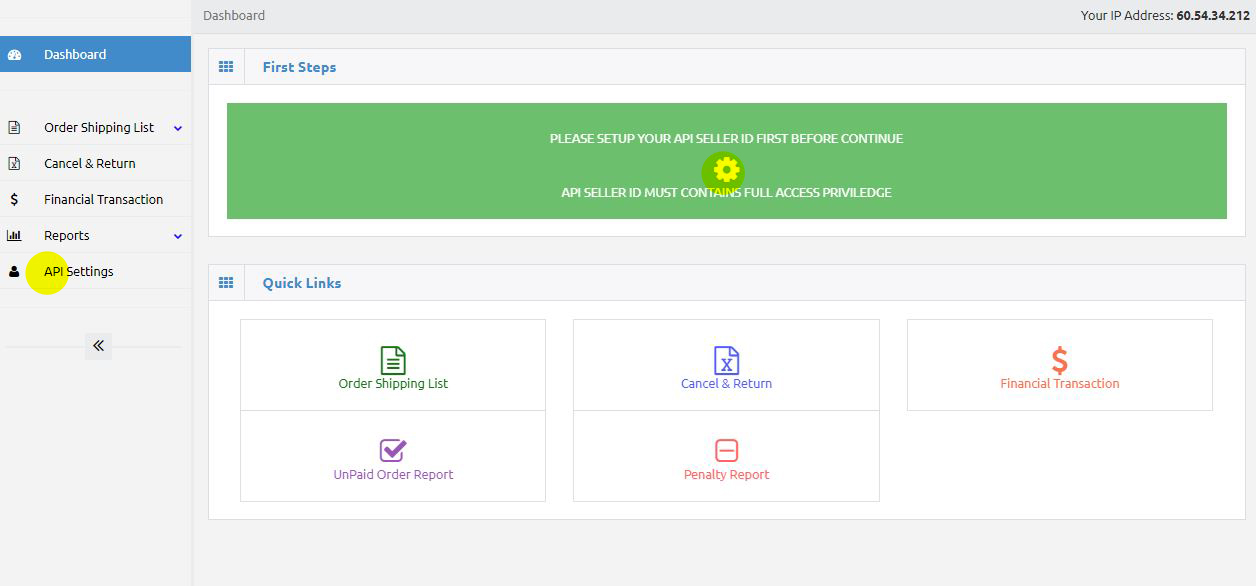
1. Click on the "Green Box" or "API Settings" to setup your API.
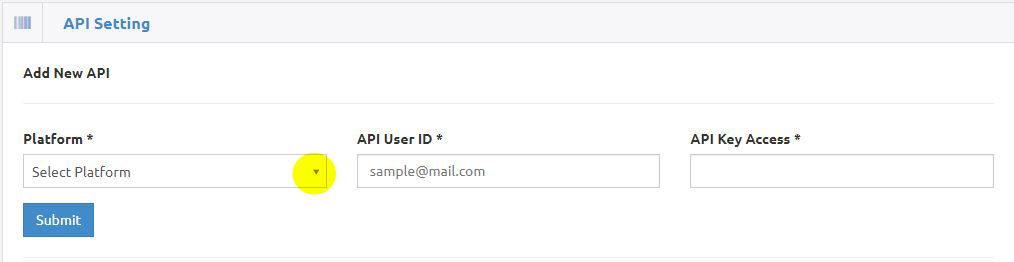
2. Select your Platform, "Lazada".
3. Open “Lazada Seller Center” in a New Tab.
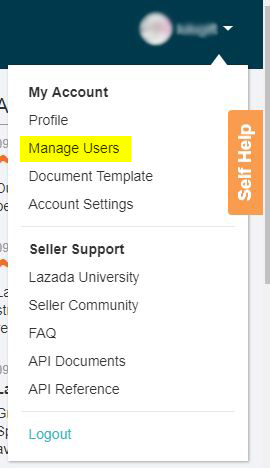
4. Click on your user button at the top-right.
5. Select "Manage Users".
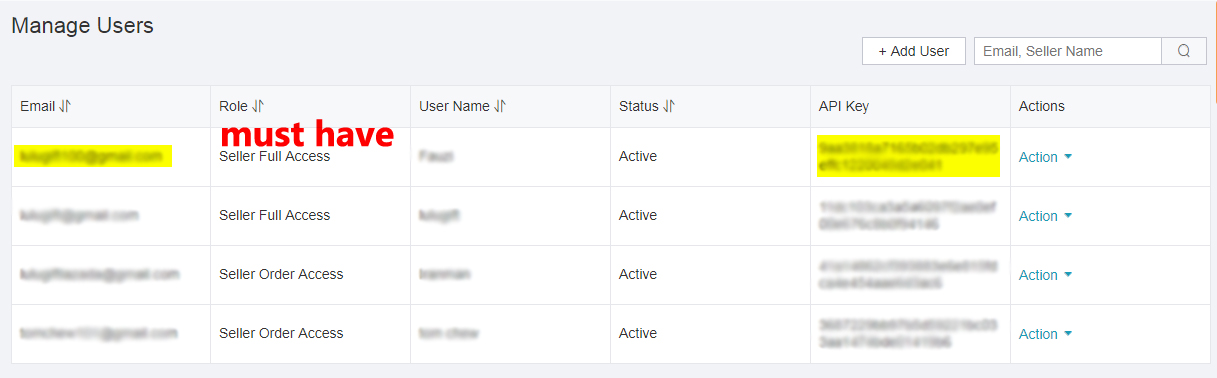

6. Copy user "Email" and Paste it into "API User ID". Then, Copy "API Key" and Paste it into "API Key Access".
7. Make sure the User’s Role is Set to "Seller Full Access".
8. Submit.
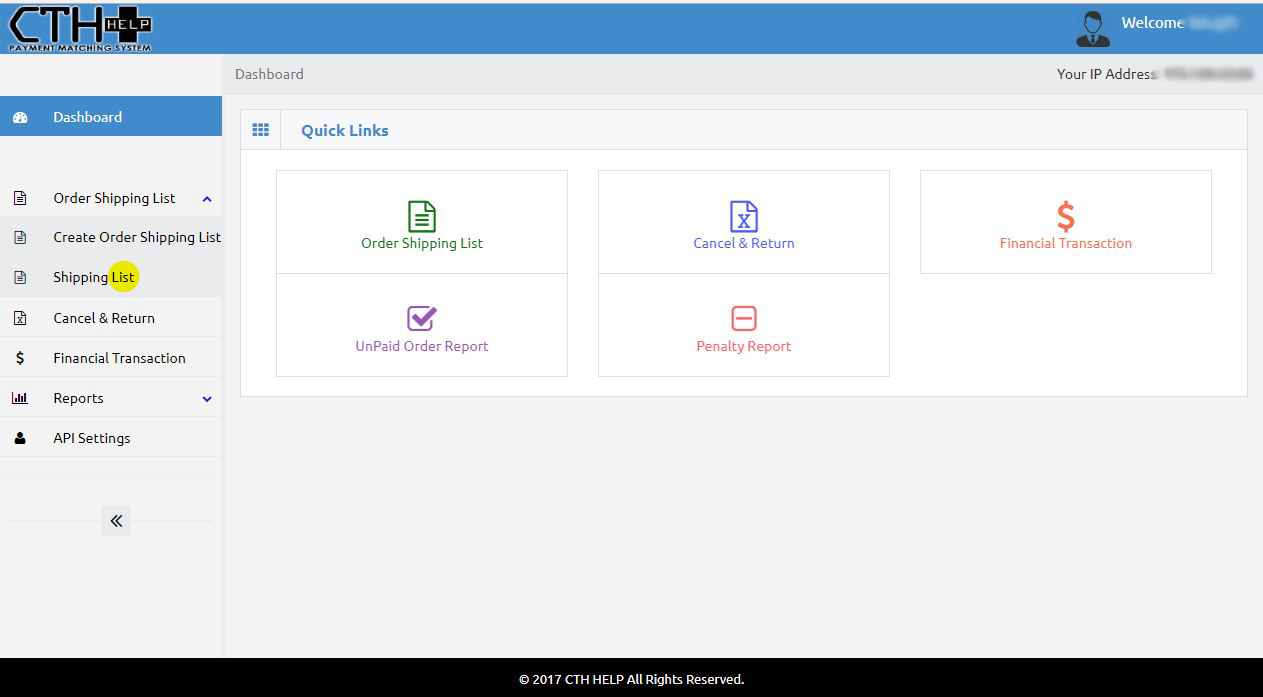
1. Click on "Order Shipping List".
2. Select "Shipping List".
3. Make sure that you have already submitted your daily orders. Otherwise, nothing will be displayed.
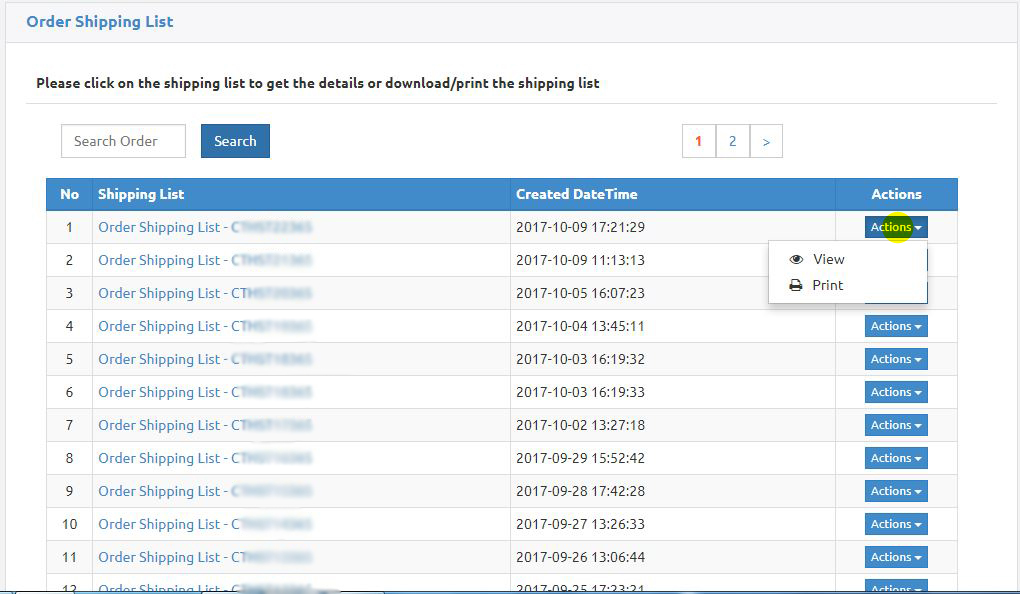
4. Click on "Action".
5. Select "View" to view the list or "Print" to print the list.
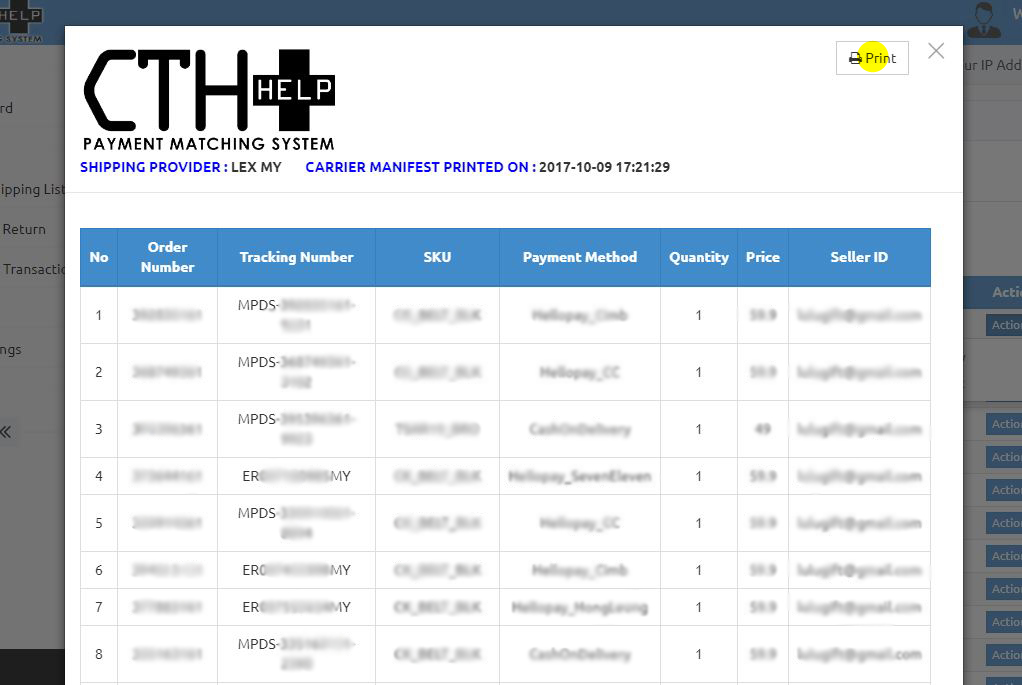
6. You also can print while viewing the list by clicking on "Print".
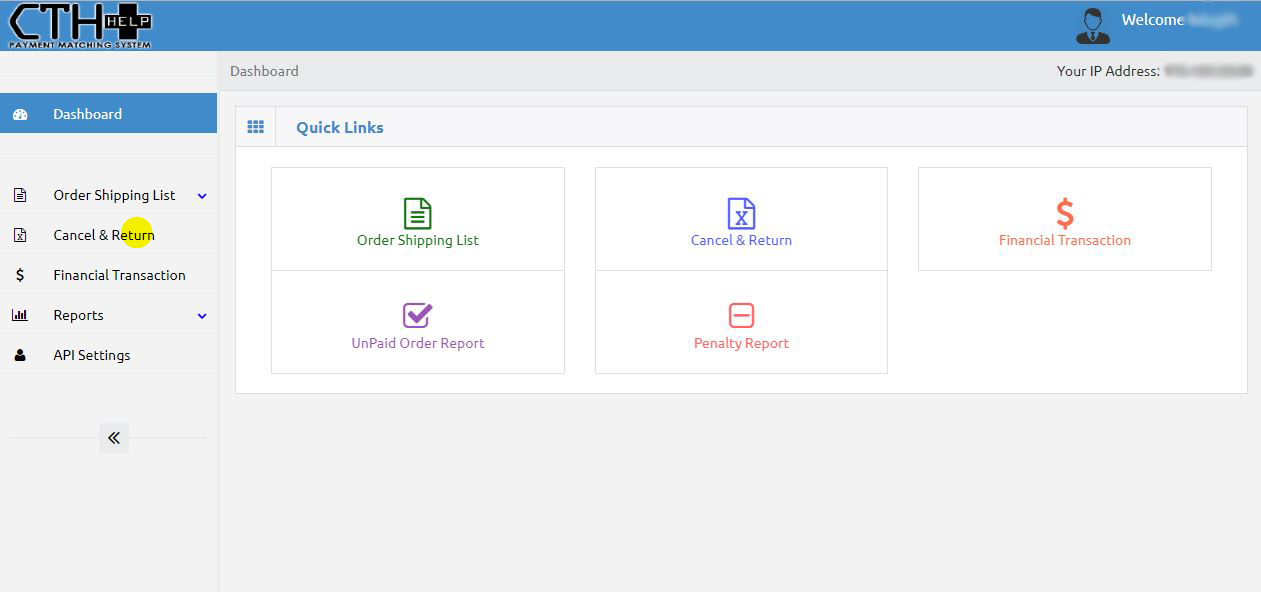
1. Click on "Cancel & Return".
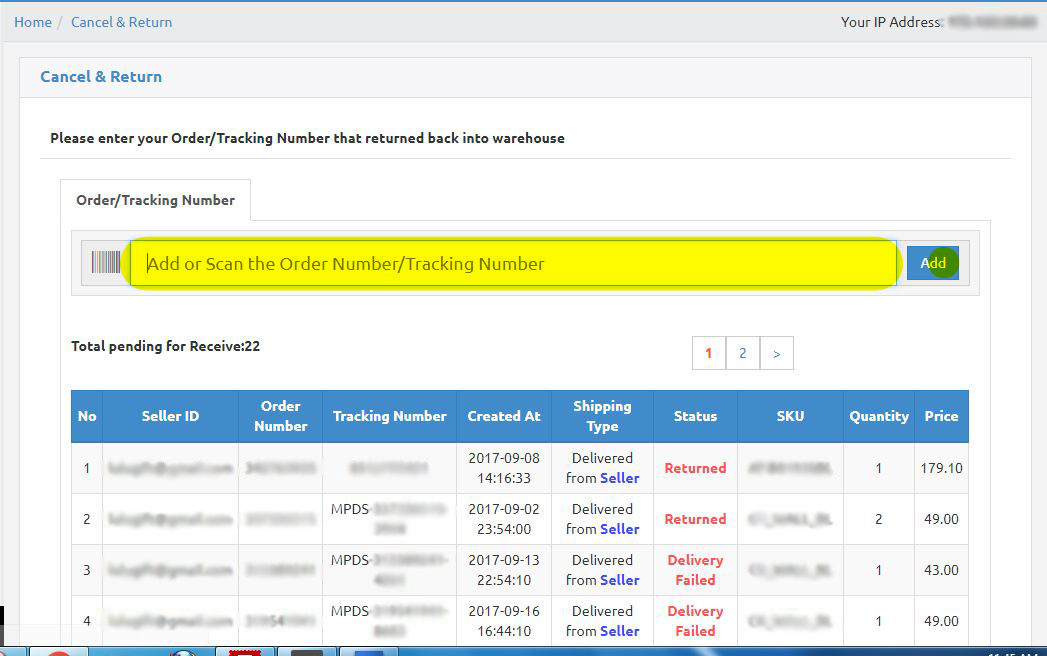
2. Key In or Scan the “Order Number”/”Tracking Number”.
3. If key in Order Number/Tracking Number, you need to click add. If using scanner, it will automatically add.
4. The status shown are directly integrated from the status on LAZADA platform.
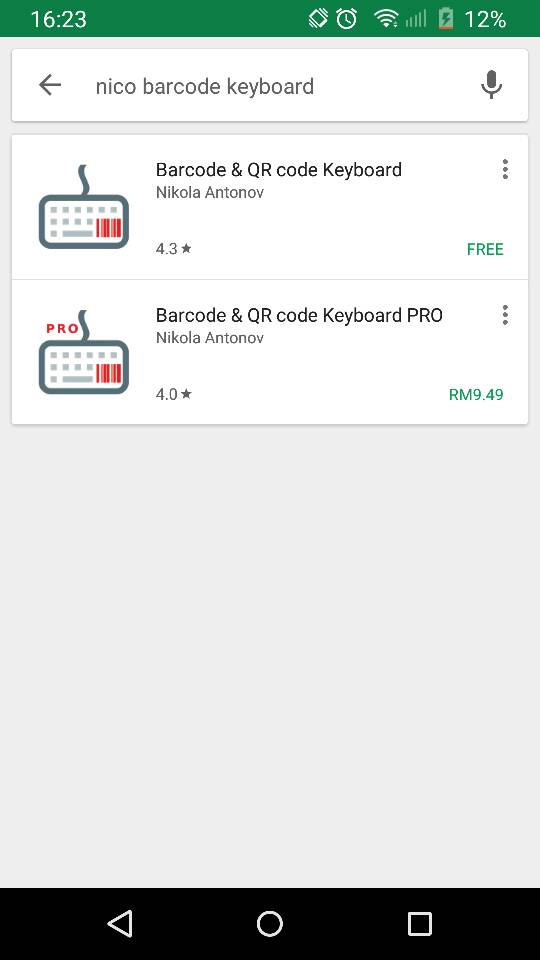
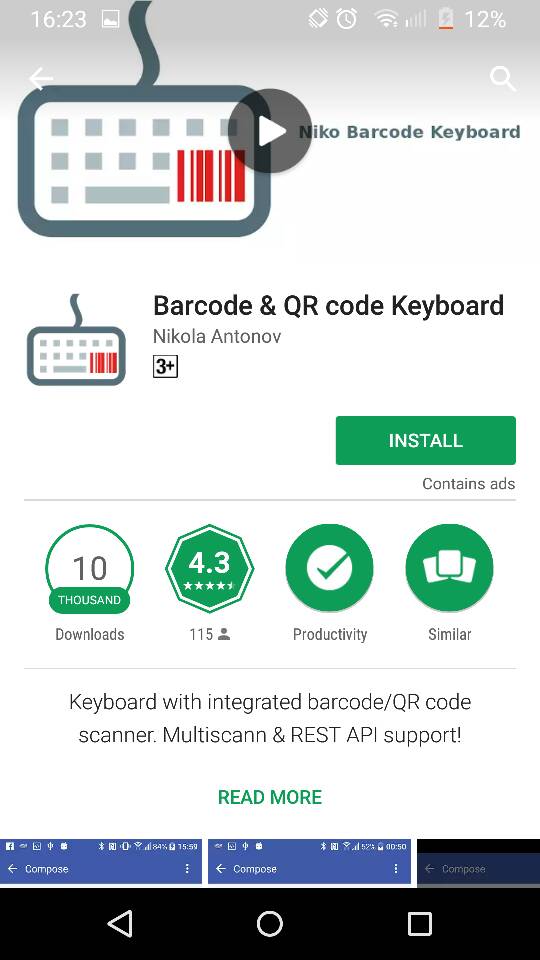
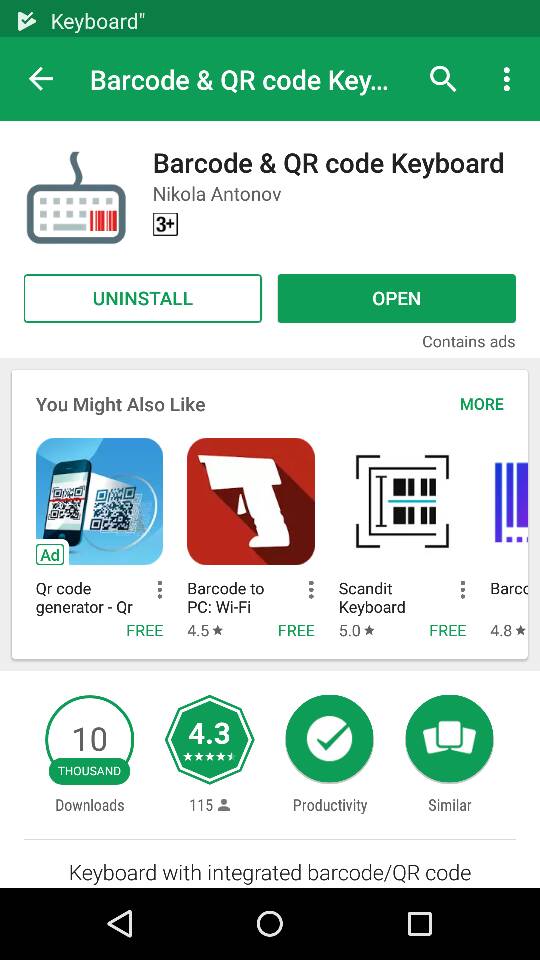
1. Download and install "Niko Barcode Keyboard" from the App Store or Google Play Store.
2. Open Niko Barcode Keyboard and go to “Setup”.
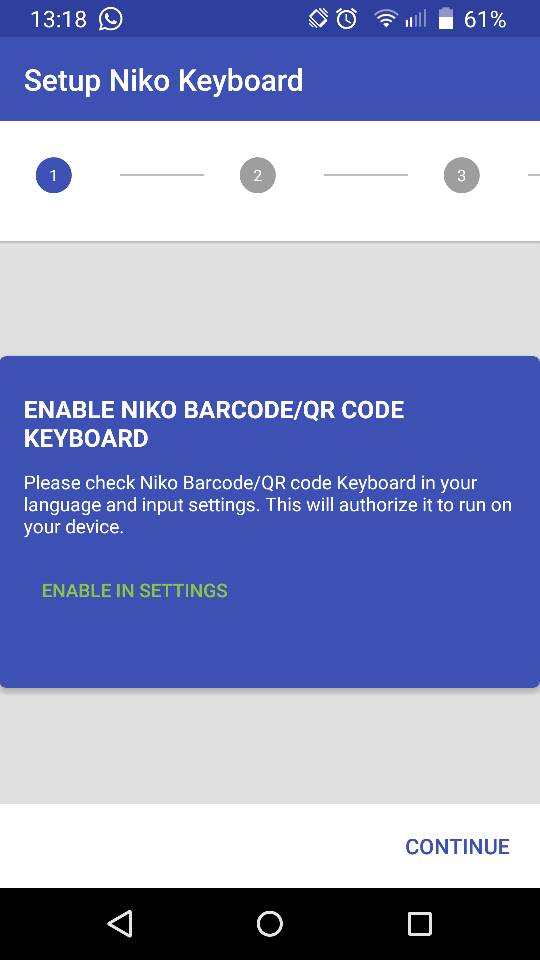
3. Enable Niko Keyboard by tapping on "ENABLE IN SETTINGS".
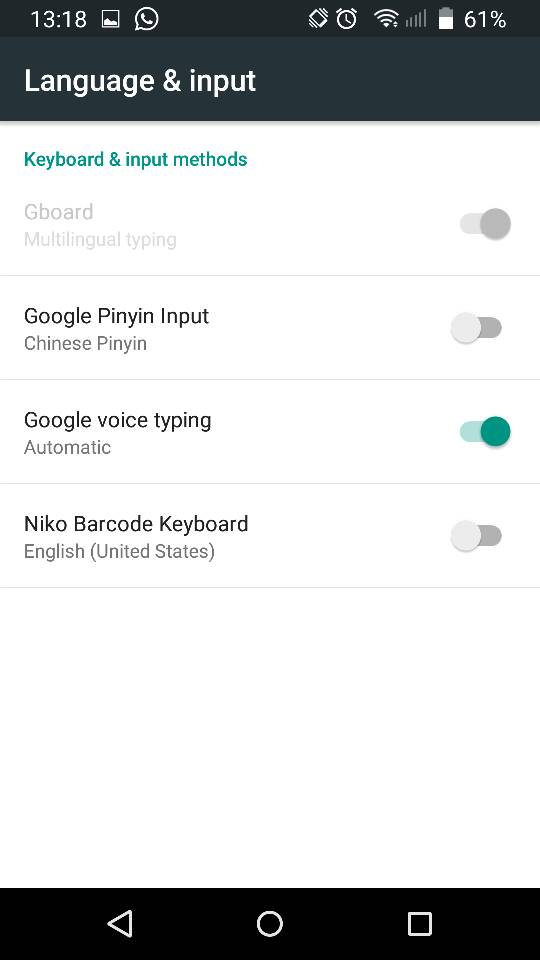
4. Select "Niko Barcode Keyboard" as Language and Input.
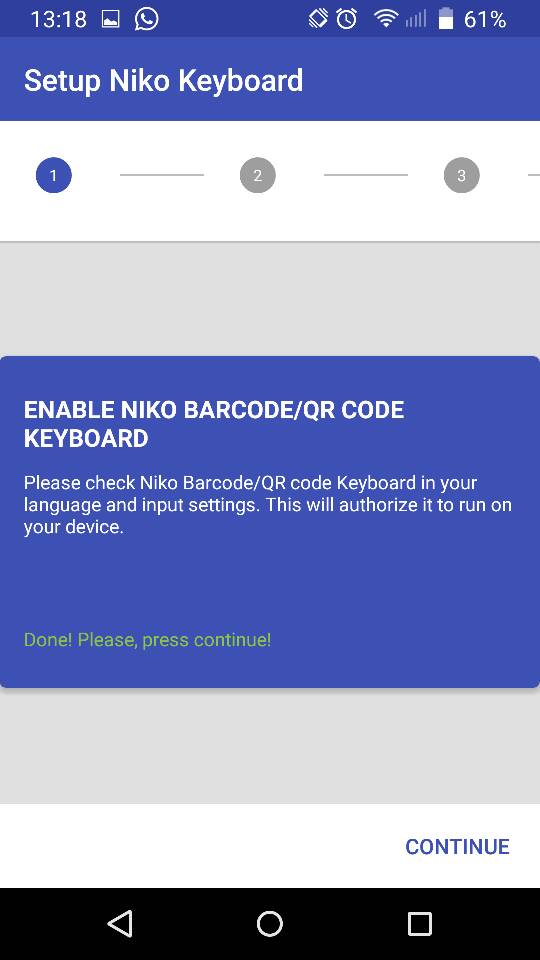
5. Done! Press "CONTINUE".
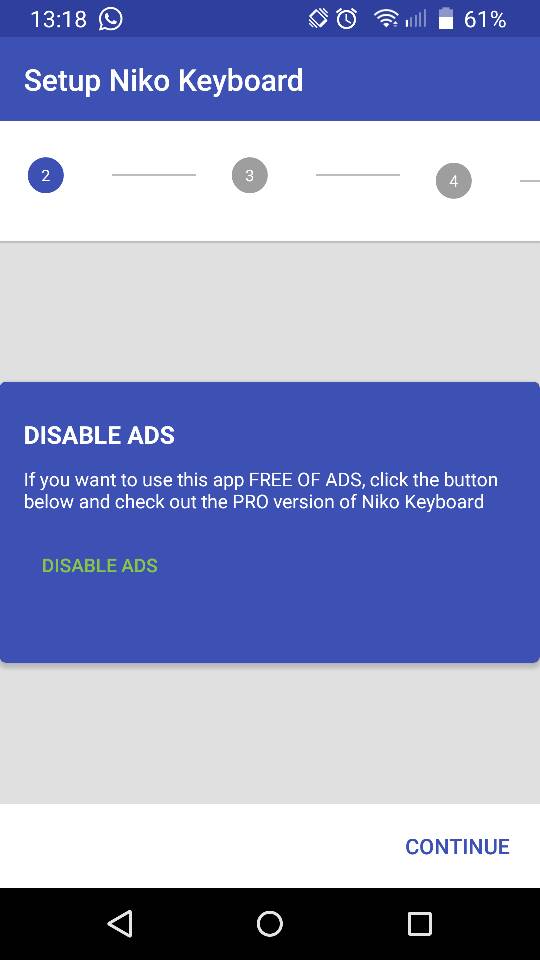
6. Tap on "DISABLE ADS" to get the full/pro apps version.
7. Else, just tap on "CONTINUE".
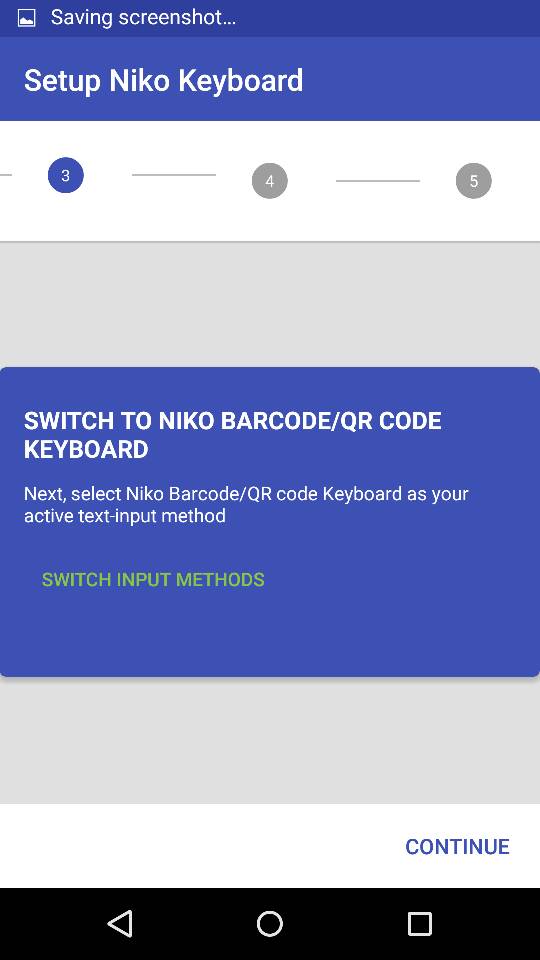
8. Tap on "SWITCH INPUT METHOD".
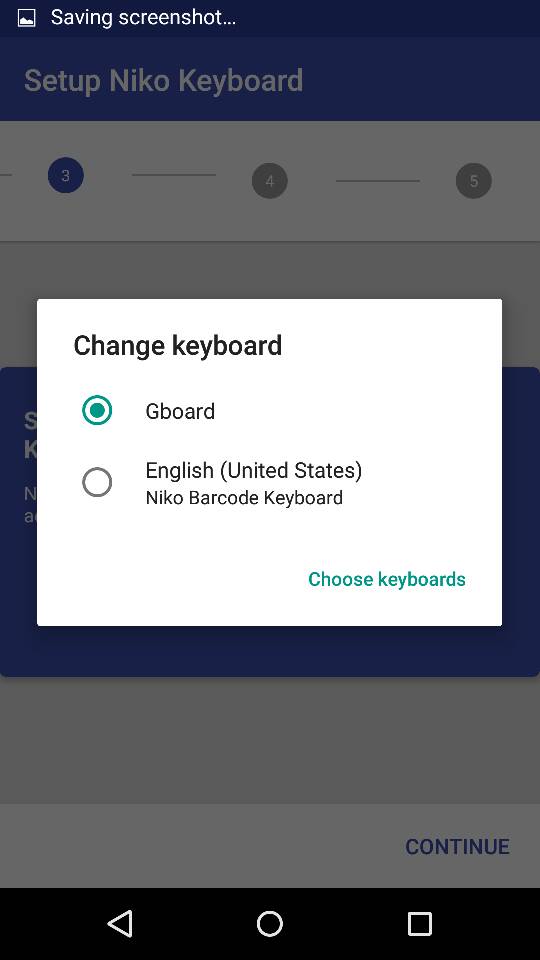
9. Change Keyboard to "English (United States) Niko Barcode Keyboard".
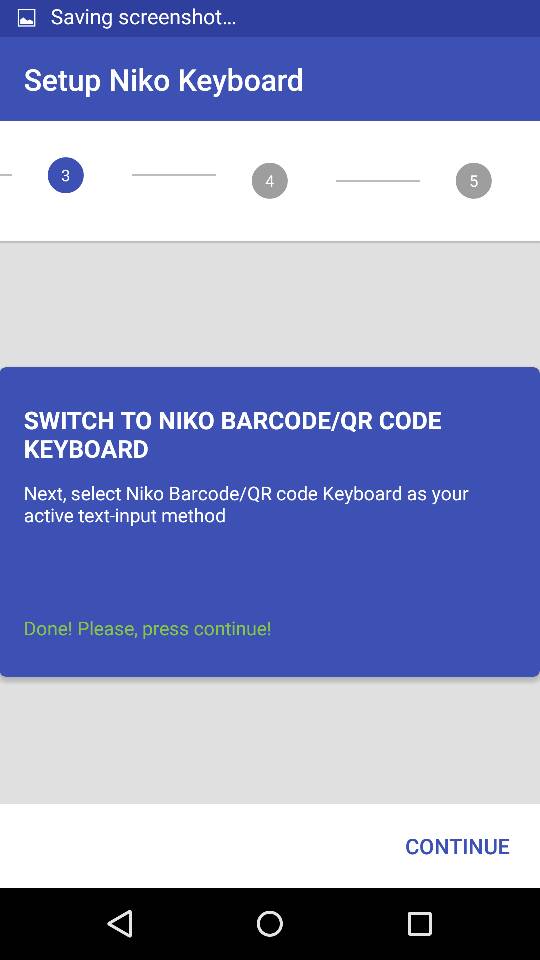
10. Done! Press "CONTINUE".
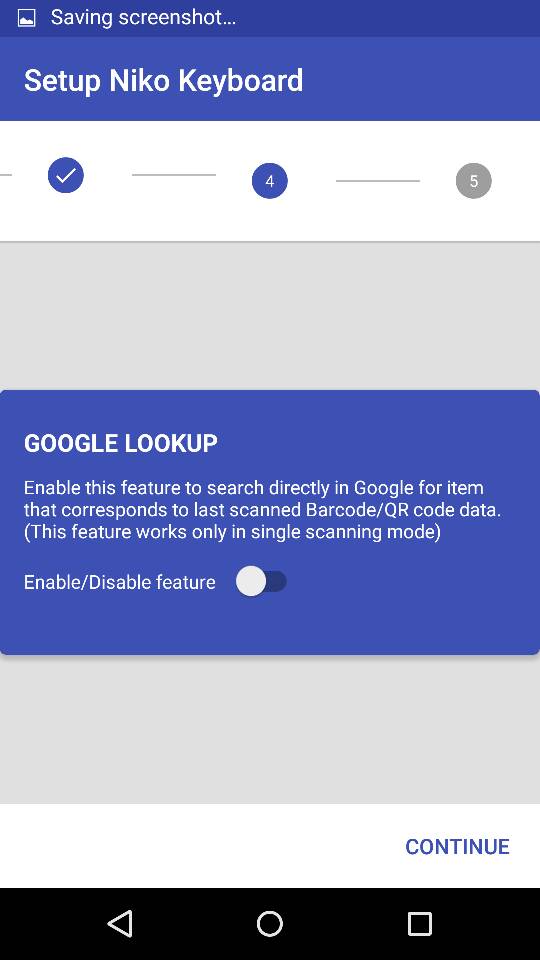
11. In GOOGLE LOOKUP, Just tap on "CONTINUE".
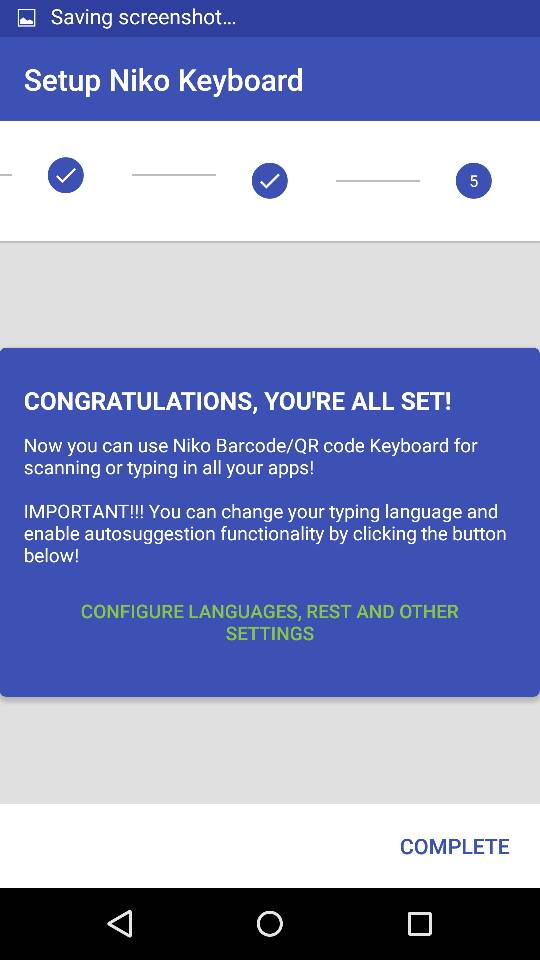
12. CONGRATULATIONS, YOU'RE ALL SET! You can configure language if you want to.
13. Else, just tap on "COMPLETE".
14. Login into your CTHHELP account, and watch the video above. It shows you a step-by-step method to easily create the order shipping list.
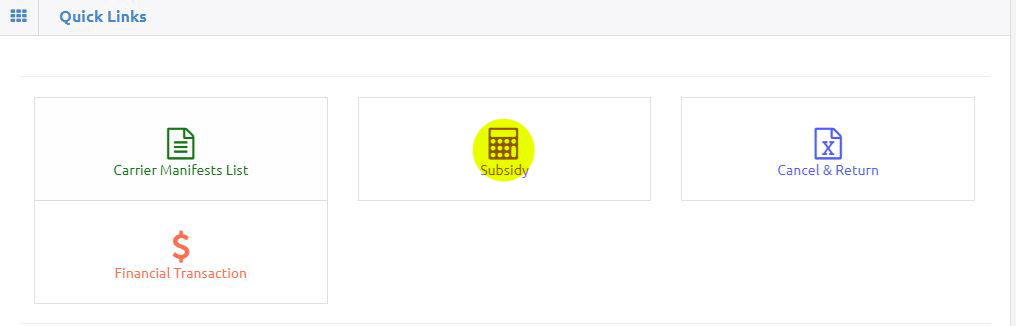
1. Click on the "Subsidy" button.
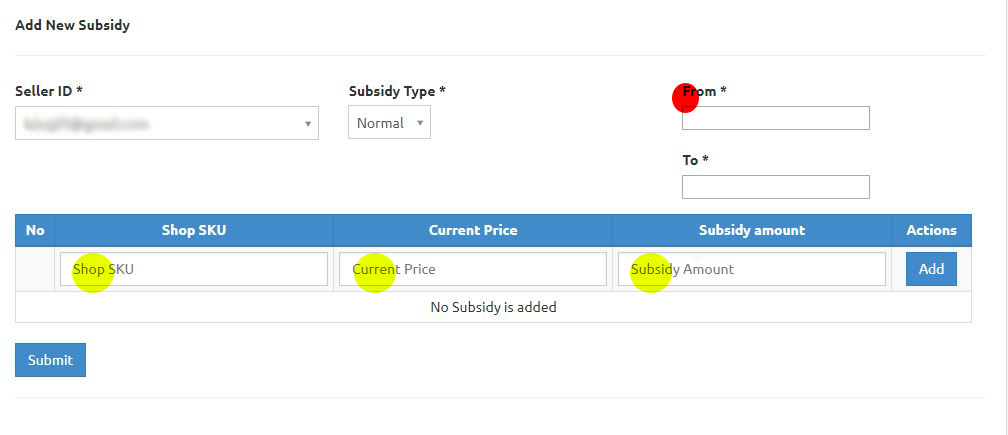

2. Fill in your shop’s SKU, current price and subsidy amount with the information given by LAZADA in email.
3. Select your Seller ID, subsidy type and fill in the subsidy date in the "From" and "To" box.
4. Click "Add" to confirm your information.
5. Repeat step 2-4 if you have more subsidy.
6. Click on "Submit" to save the records.

7. Click on "CTH****" in the subsidy list to view your subsidy report.
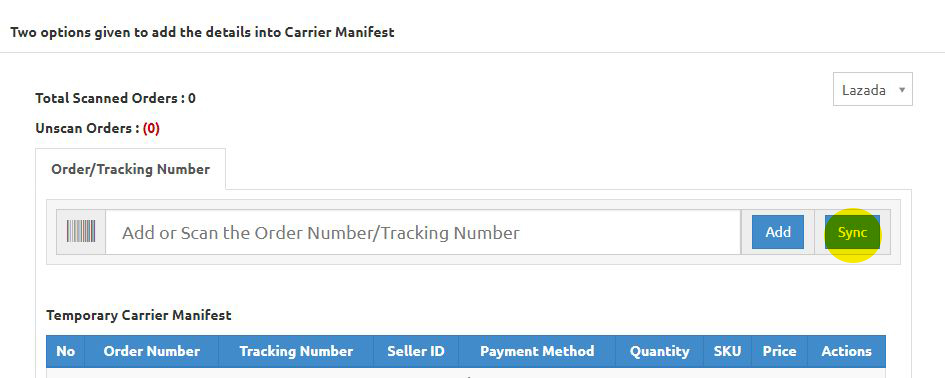
1. The sync function is available in the “Create carrier manifest”.
2. Click on the “Sync” button to manually update unscanned orders.
1. The system will automatically capture datas in the “Shipped orders” page.
2. You don’t need to scan parcels to create the carrier manifest.
3. The record will be updated daily.
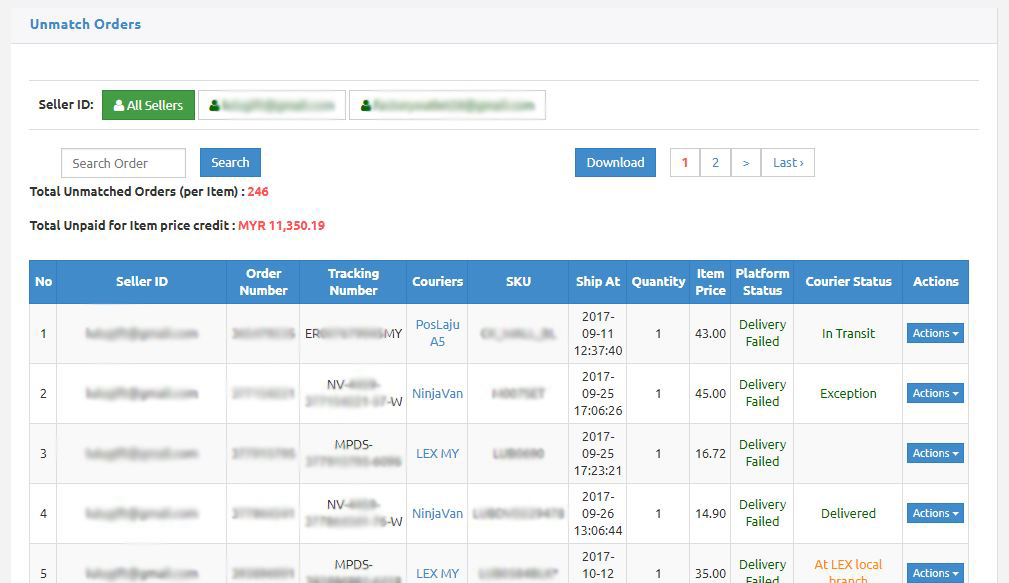
1. The “Unpaid Orders” page shows all orders with the status “Delivery Failed”, “In Transit”, “exeption”, “Cancelled”, “Pending” or “Incomplete”.
2. Once the order is complete and delivered. the order will be automatically transfered to "Paid Orders Report".
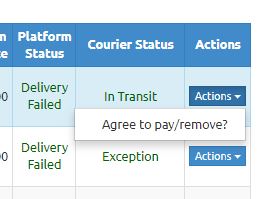
3. The action button in order list is to handle special case or manually transfer the Unpaid Orders to Paid Orders.
4. Seller can do this once they confirm that the item has already been shipped to the customer.

5. The Paid Orders shows all the orders with the status “Delivered”.
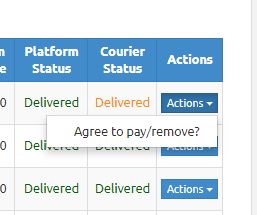
6. The “Action” button in the “Order List” is to handle special cases or to manually transfer the “Paid Orders” to “Unpaid Orders”.
7. Users can also click on the “Download” button to download reports in xls format.
8. The “Seller ID” is the ID of user that last edited the data. *There can be more than one user at a time.
9. “Order Number”, “Tracking Number” and “Couriers” are details regarding your parcel captured by the system.
10. “SKU”, “Quantity” and “Item Price” are your Order Details.
11. “Shipped at” is the date and time of the shipment.
1. The “FBL Unpaid Orders” page shows all orders with the status “Delivery Failed”, “In Transit”, “exeption”, “Cancelled”, “Pending” or “Incomplete”.
2. Once the order is complete and delivered. the order will be automatically transfered to "FBL Paid Orders Report".
3. The action button in order list is to handle special case or manually transfer the FBL Unpaid Orders to FBL Paid Orders.
4. Seller can do this once they confirm that the item has already been shipped to the customer.
5. The FBL Paid Orders shows all the orders with the status “Delivered”.
6. The “Action” button in the “Order List” is to handle special cases or to manually transfer the “FBL Paid Orders” to “FBL Unpaid Orders”.
7. Users can also click on the “Download” button to download reports in xls format.
8. The “Seller ID” is the ID of user that last edited the data. *There can be more than one user at a time.
9. “Order Number”, “Tracking Number” and “Couriers” are details regarding your parcel captured by the system.
10. “SKU”, “Quantity” and “Item Price” are your Order Details.
11. “Shipped at” is the date and time of the shipment.
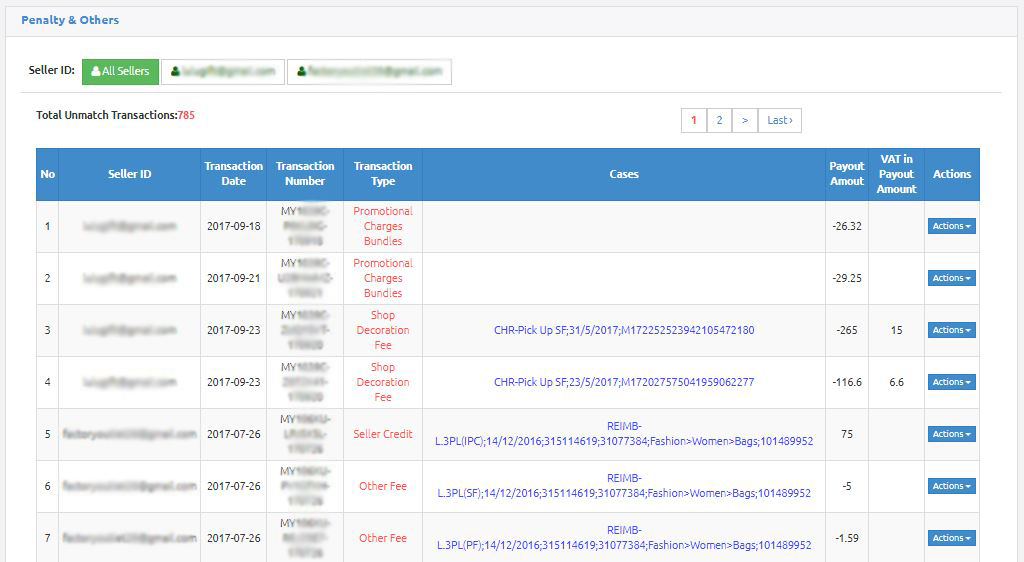
1. The Report shows all the “Penalties”, “Charges” and others.
2. It shows the Transaction Numbers, Type, Cases and Payout amount for your reference.
3. Payout Amount with (-) is the amount due
4. Payout Amount with no (-) sign is the amount to receive.
5. Transaction Type and Cases are the transaction detail.
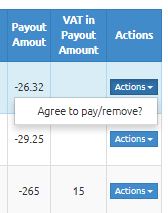
6. The action button in “Order list” is to remove the list
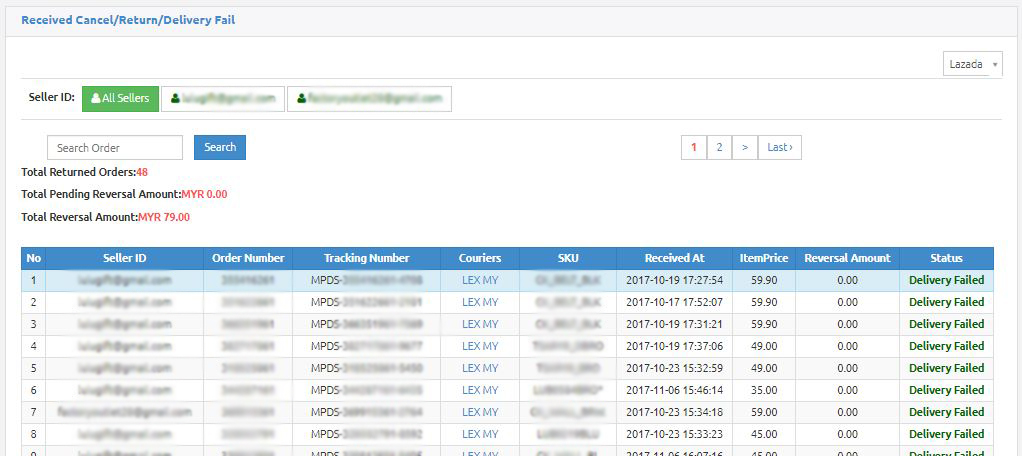
1. The Report shows all orders with status cancel, return, and delivery failed.
2. It shows details for every order for information and reference.
3. The seller ID is the id of user that key in the data. *User can be more than one.
4. Order Number, Tracking Number and Couriers is your parcel details captured by the system.
5. SKU and Item Price is your item detail.
6. Revearsal amount in when paid customer return back their item. then seller need to pay back the money to LAZADA.
7. Receive at is the date and time of item receive.
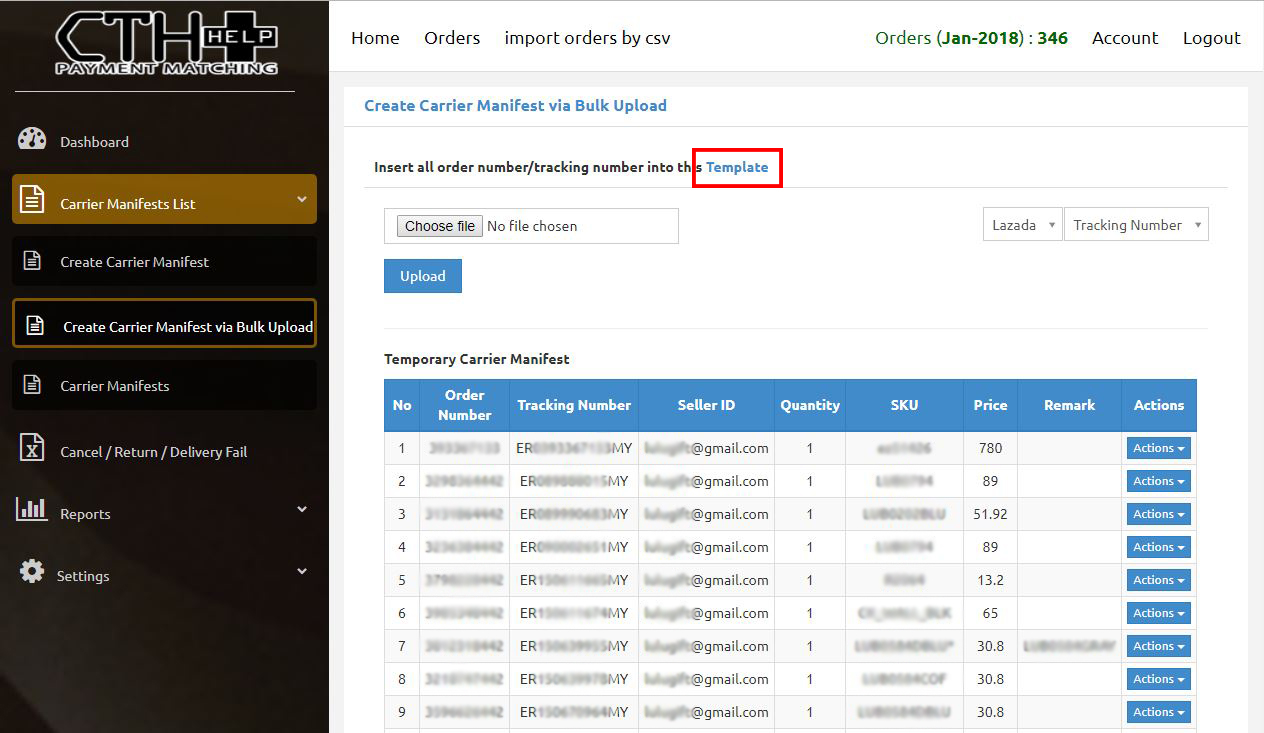
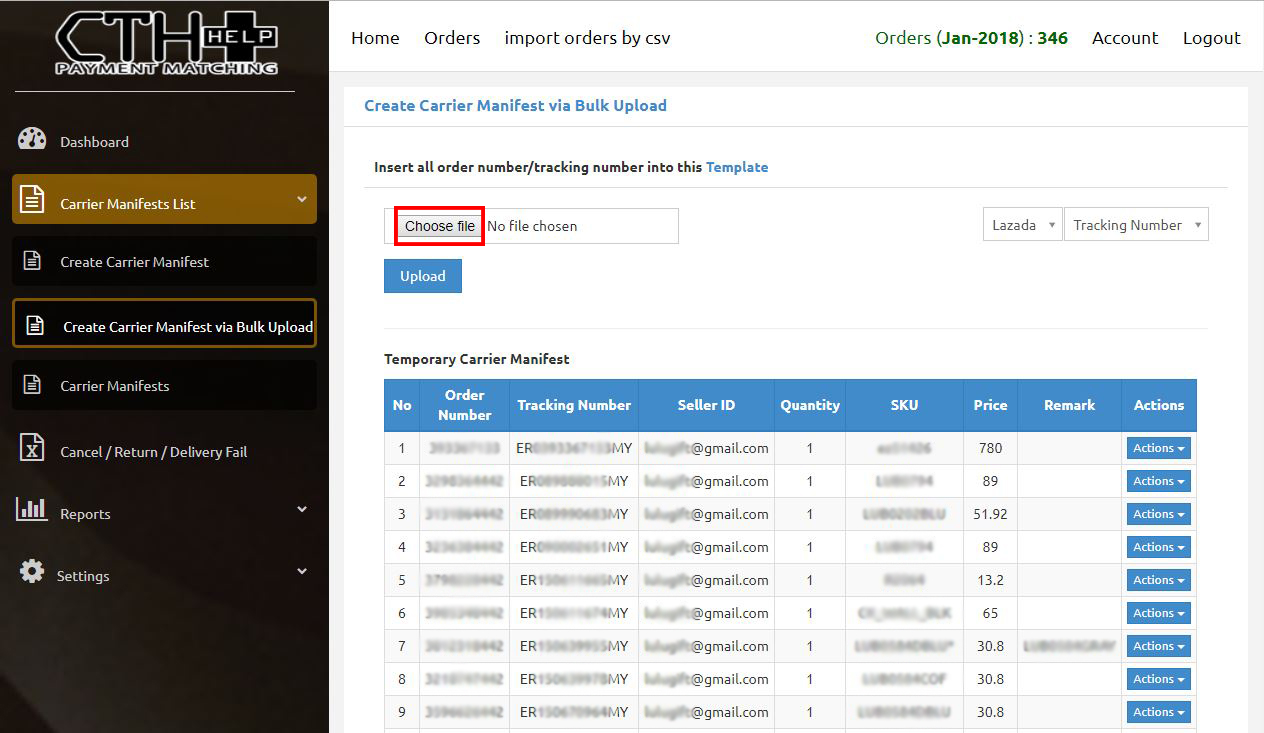
1. Click on “Carrier Manifest List” and select "Create Carrier Manifest via Bulk Upload".
2. Click on "Template" to download the template to fill the details in.
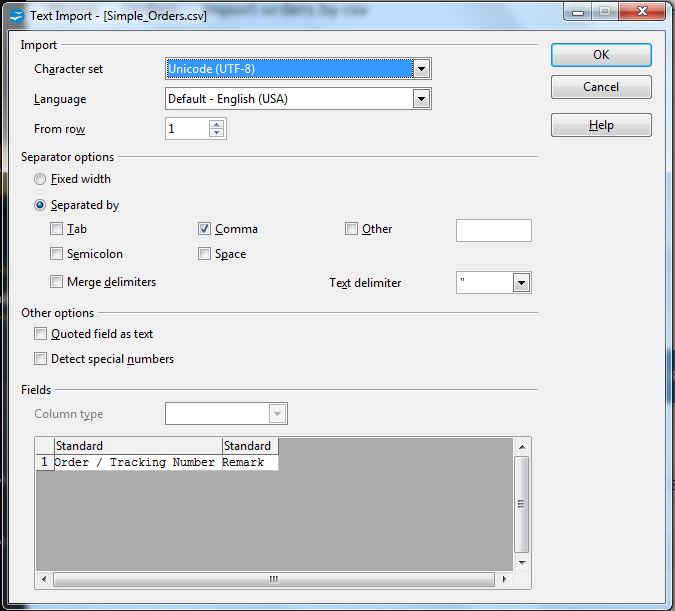
3. Open the downloaded template using "OpenOffice Calc" or "Microsoft Excel".
4. Change your Character Set to "Unicode (UTF-8)".
5. Select “Separated by Comma" and click "OK".
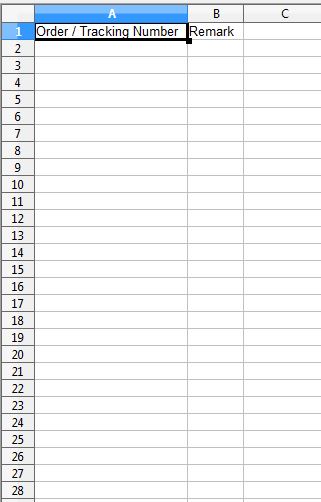
6. Fill in Order/Tracking Number *prefer to fill put in tracking number for account that have multi-user.
7. Optional: Fill in remarks.
8. Save

9. Save the file in “.csv” format

10. Click on "Upload".
11. !! Note !!
- I the system detects an error (double entry and others), it will re-download a new csv.file that shows the cell with the error.
If this happens:
- Remove/fix the error before re-uploading it again.